Introducing a Queen Bee - Honeyfields Bee Farm
Posted by Sam Barber on 26th Apr 2023
All of our queen bees are delivered in a plastic travel/introduction cage. Here is a step-by-step guide on how to introduce a queen bee to a colony using one of our plastic queen cages:
Ensure that the colony is queenless:
Before introducing a new queen, make sure that the colony is queen less. This can be done by carefully inspecting the hive for any signs of a queen. The fastest way to see if a colony has a queen present is look for eggs in the worker brood cells.
In some cases, only drone brood may be visible. There will usually be a small unfertile queen that is hard to spot.
If there is a queen present, she will need to be removed before introducing the new queen.
You may already have a completely queens less colony with no brood at all. Before introducing a new queen be sure that the colony is strong enough. If available, add some sealed brood from another stock to bump up the number of worker bees.
Check for emergency queen cells:
Once you have removed the old queen or confirmed that the colony is queen less, check for any emergency queen cells. These are cells that the colony has started to build in an attempt to quickly raise a new queen. You will find them on the bottom of frames and on the face of the comb.
If you do find any, be sure to remove them before introducing the new queen.
Prepare the queen cage:
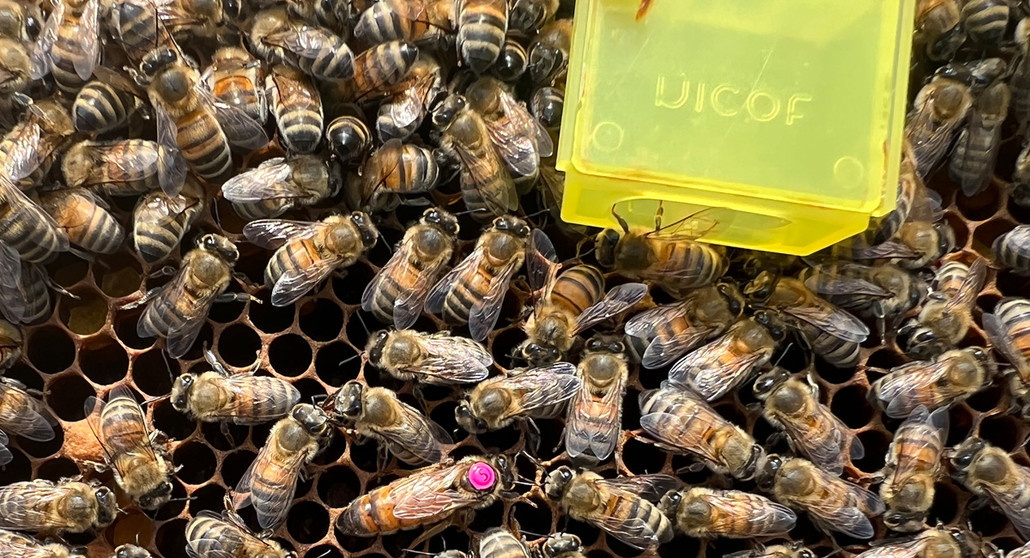
A plastic queen cage is a small, ventilated container that can hold the queen bee. All of the queen bees that we sell come with several attendants in the cage to look after her in transit. The worker bees are fine to be left in with the queen during introduction, alternatively if you are confident enough to do so the worker bees can also be removed. All queen cages have a candy plug at one end that is covered by a plastic cap, that when removed the bees will eat through the candy to release the queen.
Introduce the queen to the hive:
Place the queen cage in the hive, ideally in the centre of the brood nest.
If you have removed the worker bee attendants place the cage in the hive with the candy facing down. If you have left the worker bees in the cage, we recommend placing the cage horizontally so the candy is on the side. This will stop dead worker bees from blocking the way out.
If there is no brood present, place the cage between the fames where the majority of the bees are. The bees will start to investigate the cage and become familiar with the queen's scent.
We recommend leaving the cage in the hive for 24 – 48 hours before removing the candy cap/cover so that the worker bees to get use to smell of their new queen.
After 24 – 48 hours, return to the hive and once again check for and remove any signs of emergency queen cells. Remove the candy cap/cover and place the queen cage back between the frames and close the hive.
If you struggle for time and cannot be back at your hive in 24-48 hours remove the candy cap/cover and cover the candy with some masking tape. The bees will have to chew through the tape to get to the candy which will slow the release of the queen, improving you chances of acceptance.
Leave the hive undisturbed for 7 days to allow the colony to accept the new queen. During this time, the bees will work to release the queen from the cage by eating through the candy plug.
Checking to see if the queen has been accepted:
After 7 days, open the hive and check to see if the queen has been released and has started laying eggs. You should be able to see the queen walking around on the frames doing her thing. If you cannot spot the queen then check for is eggs in the worker brood cells.
Sometimes newly introduced queen bees can take a little longer to start laying eggs. If you can see the queen present but there are no eggs, we suggest closing the hive back up and checking again in a few days.
Unfortunely introducing a queen bee to a new colony is not always successful. If you have been unsuccessful, you will usually find emergency queen cells on inspection and you will have to try to introduce another queen.
